 Docs
Docs
Crear un WebComponent propio
Para crear un WebComponent en flexygo tan solo debes seguir los siguientes pasos:
1. Definir el nombre del producto
Pon aquí el nombre de producto, para que así los nombres te aparezcan actualizados directamente y tan solo tengas que copiarlos y pegarlos:
2. Typescript
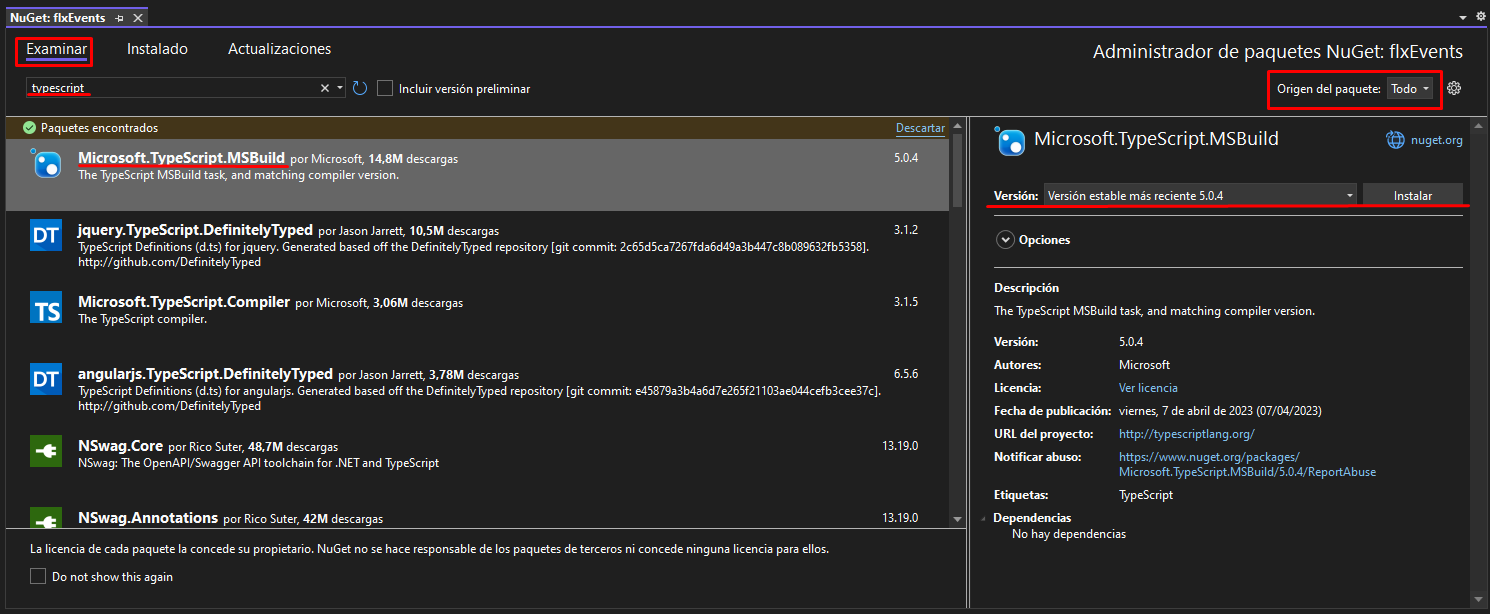
Instalaremos el nuget de TypeScript 5.0.4, tal y como se ve en la captura (click derecho en el proyecto principal > Administrar paquetes NuGet):
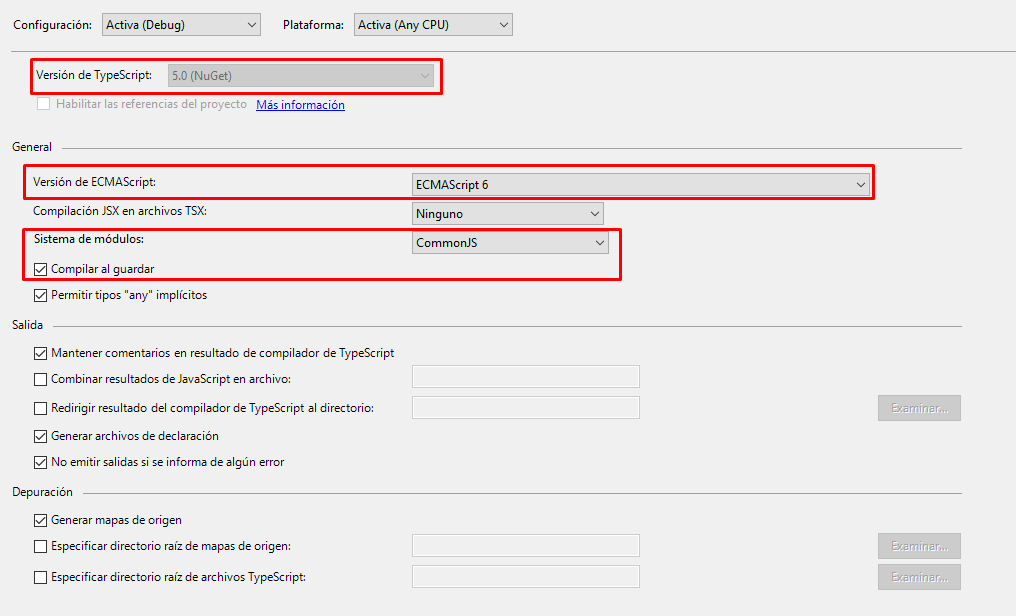
Una vez instalado revisaremos que la configuración de typescript del proyecto se ajuste a la de la imagen (para acceder a la configuración, click derecho en el proyecto principal > Propiedades > Compilación de TypeScript):
3. Estrucutrar el proyecto
Crearemos dentro del proyecto una carpeta a la que llamaremos ahoraflexy para albergar nuestros componentes del proyecto y dentro generaremos la estrucutra "controllers", "plugins" y "wc"

4. Crear Webcomponent
Añadiremos un fichero TS con el nombre afl-carousel a nuestra carpeta wc con el siguiente código:
/**
 * @namespace ahoraflexy.ui.wc
 */

namespace ahoraflexy.ui.wc {
/**
* Library for the AflCarousel
*
* @class AflCarousel
* @constructor
* @return {aflCarousel} .
*/
    export class AflCarousel extends HTMLElement {

        constructor() {
            //If a constructor is defined, is REQUIRED call the super constructor
            super();
        }

        /**
        * Array of observed attributes. REQUIRED
        * @property observedAttributes {Array}
        */
        static get observedAttributes() {
            return ['ObjectName', 'ObjectWhere', 'ModuleName','asd'];
        }

        /**
        * Set if element has been connected to DOM
        * @property connected {boolean}
        */
        connected: boolean = false;


        /**
        * Database row Module ID
        * @property moduleName {string}
        */
        moduleName: string;

        /**
        * Component Object Name
        * @property objectName {string}
        */
        objectName: string;

        /**
        * Component Object Where
        * @property objectWhere {string}
        */
        objectWhere: string;


        /**
        * Init the webcomponent. REQUIRED.
        * @method init
        */
        init(): void {
            this.render();
        }

        /**
        * Refresh de webcomponent. REQUIRED.
        * @method refresh
        */
        refresh(): void {
            this.render();
        }

        /**
        * Render HTML data.
        * @method render
        */
        render(): void {
            $(this).html('Hola flexygo');
        }

        /**
        * Fires when element is attached to DOM
        * @method connectedCallback
        */
        connectedCallback(): void {

            let element = $(this);
            this.connected = true;

            this.objectName = element.attr("ObjectName");
            this.objectWhere = element.attr("ObjectWhere");
            this.moduleName = element.attr("ModuleName");

            this.init();

        }

        /**
        * Fires when the attribute value of the element is changed.
        * @method attributeChangedCallback
        */
        attributeChangedCallback(attrName, oldVal, newVal): void {

            let needInit: boolean = false;

            if (attrName.toLowerCase() == 'modulename' && newVal && newVal != '') {
                this.moduleName = newVal;
                needInit = true;
            } else if (attrName.toLowerCase() == 'objectname' && newVal && newVal != '') {
                this.objectName = newVal;
                needInit = true;
            } else if (attrName.toLowerCase() == 'objectwhere' && newVal && newVal != '') {
                this.objectWhere = newVal;
                needInit = true;
            }

            if (this.connected && needInit) {
                this.init();
            }
        }
    }


}

window.customElements.define("afl-carousel", ahoraflexy.ui.wc.AflCarousel);
5. Enlazar BBDDs y JS
Ponemos las BBDD en modo producto e insertamos el tipo de módulo y el enlace con el fichero js
update origins set active=case originid when 1 then 1 else 0 end

Insert into Interfaces_Types_JS (InterfaceTypeId,TypeId,FilePath,Description,[Order],OriginId)
values (NEWID(),-1,'~/fhnamepropagator/wc/afl-carousel.js','Carousel WebComponent',999,1)

Insert into Modules_Types (TypeId,Descrip,IconName,SettingsTable,WebComponent,UseCollection,OriginId)
values ('afl-carousel','Carousel','fighter-jet','','afl-carousel',1,1)
6. Crear un nuevo módulo
Creamos un nuevo módulo y lo incluimos en la página de inicio.
7. Preparar las BBDDs
Creamos una tabla para alojar los registros de las imágenes.
Añadimos un fichero Carousel.sql en la carpeta dbo/tables de nuestro modelo de datos
CREATE TABLE [dbo].[Carousel] (
    [ImageId] INT            NOT NULL,
    [Description]   NVARCHAR (50) NULL,
    [File]   NVARCHAR (250) NULL,
CONSTRAINT [PK_Carousel] PRIMARY KEY CLUSTERED ([ImageId] ASC)
);
Añadimos los datos estáticos al fichero data.sql en la carpeta scripts/data de nuestro modelo de datos
Insert into Carousel (ImageId,[Description],[File]) values (1,'Foto 1','~/img/loading1.gif')
Insert into Carousel (ImageId,[Description],[File]) values (2,'Foto 2','~/img/loading2.gif')
Insert into Carousel (ImageId,[Description],[File]) values (3,'Foto 3','~/img/loading3.gif')
Insert into Carousel (ImageId,[Description],[File]) values (4,'Foto 4','~/img/loading4.gif')
IMPORTANTE volver a publicar la base de datos despues de completar estos pasos
8. Añadir un controlador de servidor
Para este caso crearemos un controller llamado CarouselController.vb con el siguiente código:
Imports System.Web.Mvc
Imports FLEXYGO
Imports FLEXYGO.Environment
Imports FLEXYGO.Web
Imports FLEXYGO.Utilities.General.Util
Imports FLEXYGO.Data
Imports FLEXYGO.Utilities.SQL.SQLUtilities

Namespace ahoraflexy.controllers

    ''' <summary>
    ''' Class CarouselController.
    ''' Allows Process execution by process Id or process name
    ''' </summary>
    <SessionState(System.Web.SessionState.SessionStateBehavior.ReadOnly)>
    Public Class CarouselController
        Inherits FlxController

        ''' <summary>
        ''' Reads data for carousel module
        ''' </summary>
        ''' <param name="ObjectName">Object name.</param>
        ''' <param name="ObjectWhere">The object where.</param>
        ''' <param name="ModuleName">The module identifier.</param>
        ''' <returns>returns list of images as ActionResult.</returns>
        <Compress>
        Public Function GetData(ByVal ObjectName As String, ByVal ObjectWhere As String, ByVal ModuleName As String) As ActionResult

            Try

                'Dim modDef As ModuleDefinition = GlobalVars.ConfToken.EnvironmentSettings.GetModule(ModuleName)


                Return Json(ReadImages())

            Catch ex As Exception
                Return Json(ajaxError.ajaxException("Error in GetData GetData", ex, Response))
            End Try

        End Function

        ''' <summary>
        ''' Reads data images for carousel module
        ''' </summary>
        ''' <returns>returns list of images</returns>
        Public Function ReadImages() As List(Of FLEXYGO.Utilities.General.BaseCollection)

            Dim dm As New DataManager(GlobalVars.ConfToken.UserSecurity.ConnectionStrings("DataConnectionString"))

            Dim dt As DataTable = dm.DataTable("Select * from carousel")

            If dm.LastException IsNot Nothing Then
                Throw New InvalidOperationException("Error leyendo datos", dm.LastException)
            End If

            Return DataTableToList(dt, Nothing)


        End Function

    End Class
End Namespace
9. Añadir el plugin y referenciarlo en la BBDD de configuración
Descargar el fichero jR3DCarousel.min.js y dejarlo en la carpeta
Insert into Plugins (PluginId,[Path],Descrip,[Order],typeId,Bundle,[Enabled],OriginId) values (newid(),'~/AhoraFlexy/plugins/jR3DCarousel.min.js','jR3DCarousel JS',999,0,1,1,1)
10. Llamar al controller desde el Webcomponent
Añadimos a nuestro webcomponent la función loadData() y la invocamos desde el render()
/**
* Render HTML data.
* @method render
*/
render(): void {
    this.loadData()
}

 /**
* Calls controller and load carousel
* @method render
*/
loadData(): void {

    let me = $(this);

    let params = {
        ObjectName: me.attr('ObjectName'),
        ObjectWhere: me.attr('ObjectWhere'),
        ModuleName: this.moduleName
    };

    flexygo.ajax.post('~/api/Carousel', 'getData', params, (response) => {
        if (response) {
            debugger;
            let imgs = new Array();
            for (let i = 0; i < response.length; i++) {
                imgs.push({ src: flexygo.utils.resolveUrl(response[i].File) })
            }
            let carr = $('<div class="carrousel"><div>')
            me.html(carr);
            carr.jR3DCarousel({ slides: imgs });
        }
    });
}
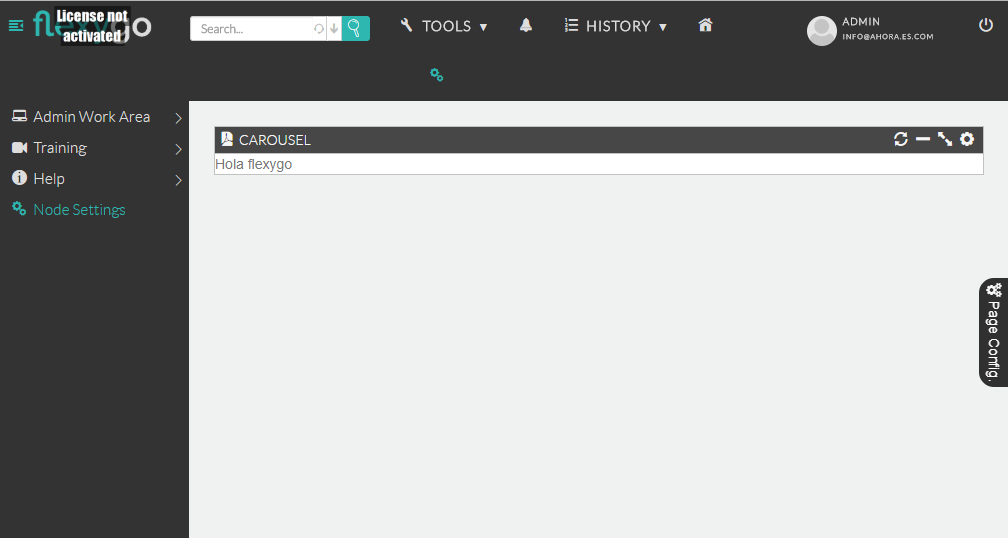
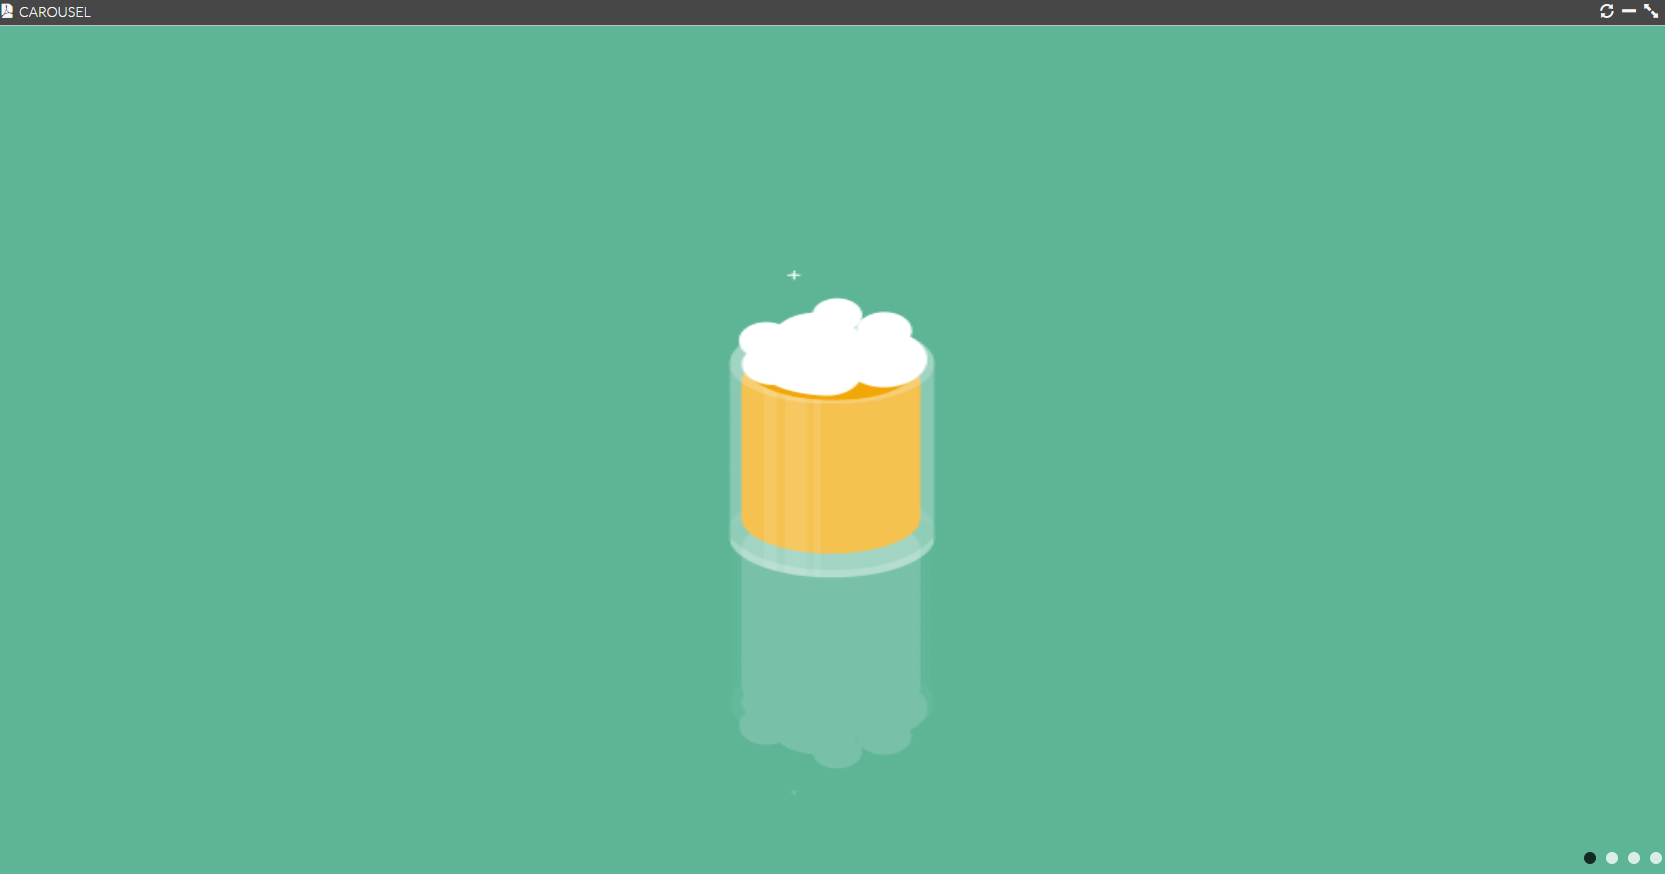
11. Probar tras recargar caché
Recargamos la caché y la página, el resultado debería ser este:
12. Añadir scripts de datos
Generamos los scripts de configuración de producto:
Borramos todos los ficheros de la carpeta scripts/data de nuestra BBDD de configuración.
Si es la primera vez que trabajamos con esta BBDD activar el cmd_shell ejecutando el siguiente comando:
-- To allow advanced options to be changed.
EXEC sp_configure 'show advanced options', 1;
GO
-- To update the currently configured value for advanced options.
RECONFIGURE with override;
GO
-- To enable the feature.
EXEC sp_configure 'xp_cmdshell', 1;
GO
-- To update the currently configured value for this feature.
RECONFIGURE with override;
GO
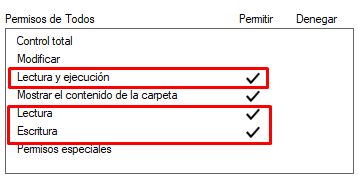
Revisamos permisos de la carpeta scripts/data:
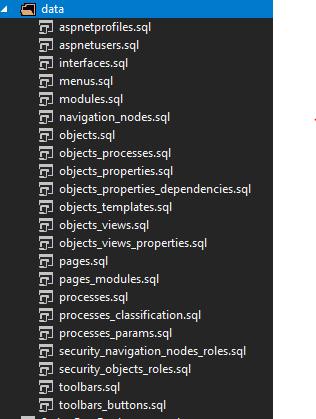
Ejecutamos el siguiente script en la BBDD para generar los datos estáticos:
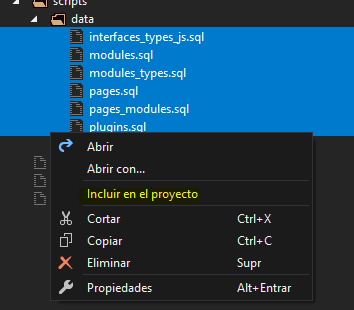
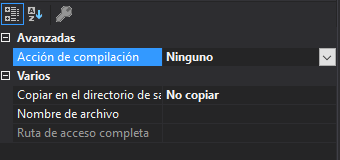
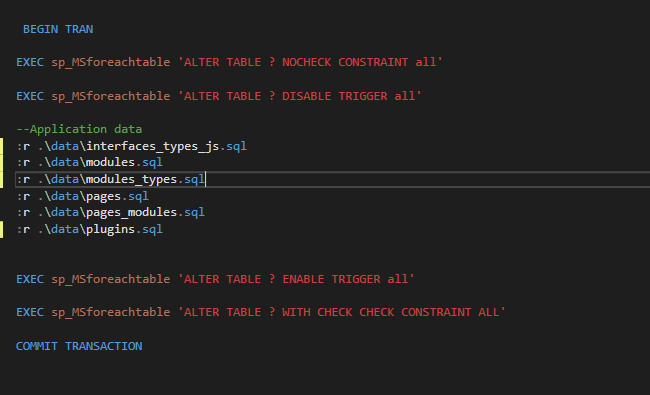
Incluimos los nuevos ficheros que hayan aparecido, asignamos la opción de compilación de sus propiedades a Ninguno y los referenciamos en el fichero scripts/Script.PostDeployment.sql:
13. Publicar BBDDs
Publicamos la BBDD y nos aseguramos que todo sigue correcto.